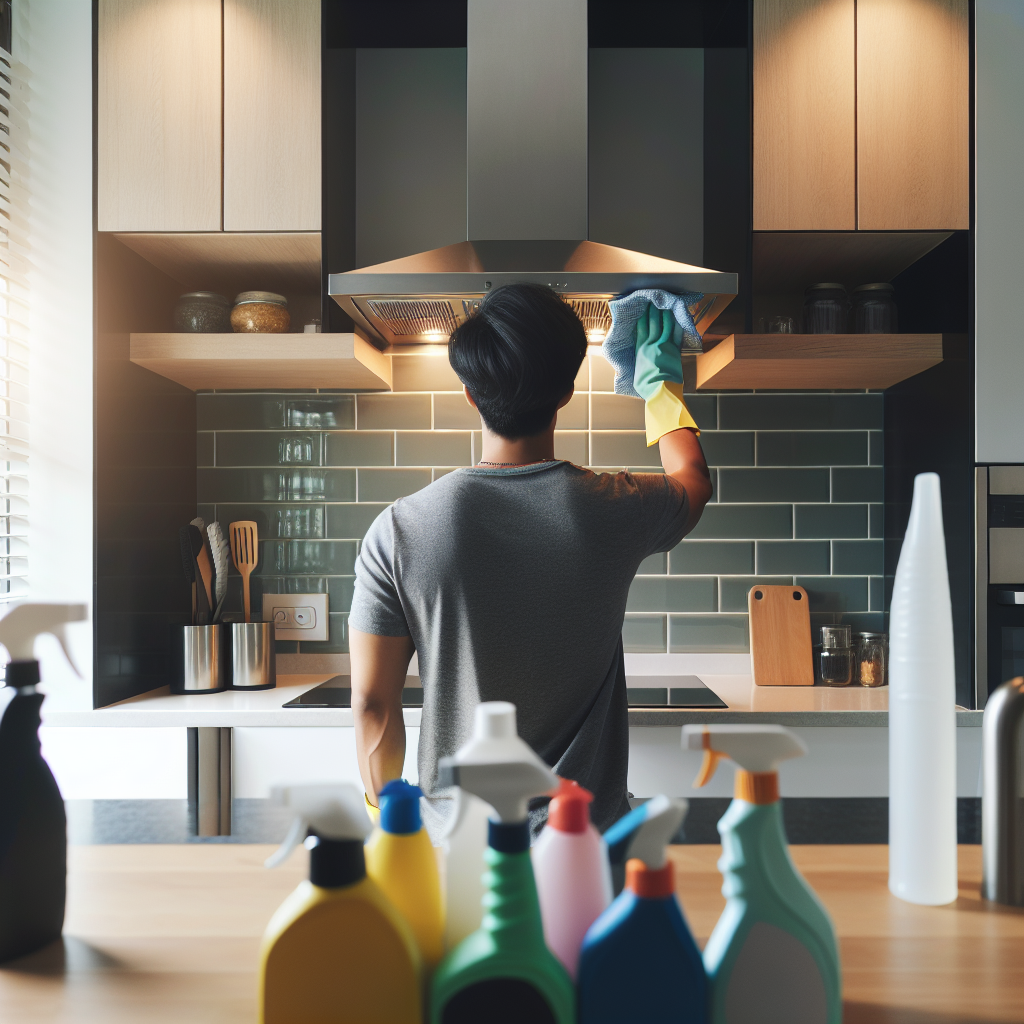
DIY Hood Cleaning: A Step-by-Step Guide
If you run a commercial kitchen, it’s essential to regularly clean your exhaust hood to ensure the safety, hygiene, and efficiency of your workspace. While professional restaurant hood cleaning services can do the job with finesse, sometimes you might want to do it yourself. This step-by-step guide will help you through the process of DIY hood cleaning.
Why is Hood Cleaning Important?
Before we dive into the steps, let’s understand why hood cleaning is crucial:
- Fire Safety: Grease build-up can easily ignite and cause kitchen fires.
- Health Regulations: Compliance with health and safety regulations requires regular cleaning.
- Improved Efficiency: Clean hoods function more efficiently, reducing energy costs.
- Aesthetic Appeal: A clean hood improves the overall look of your kitchen.
Tools and Materials You Will Need
- Degreaser or cleaning solution suitable for kitchen hoods
- Scrub brushes and non-abrasive sponges
- Plastic or paper drop cloths
- Bucket of hot water
- Rubber gloves
- Safety goggles
Step-by-Step Guide to DIY Hood Cleaning
Step 1: Prepare Your Workspace
First, turn off all cooking appliances and allow the surfaces to cool. Lay down plastic or paper drop cloths to protect your counters and floors from drips or splashes.
Step 2: Disconnect and Remove Filters
Wear rubber gloves and safety goggles during this process. Disconnect the exhaust hood from its power source, if applicable, and carefully remove the filters. Place the filters in a sink or a large basin with hot, soapy water to soak.
Step 3: Apply Degreaser
Spray the degreaser generously on the inside and outside of the hood. Pay extra attention to areas with visible grease build-up. Allow the degreaser to sit for about 10-15 minutes to break down the grease.
Step 4: Scrub the Hood
Using a scrub brush or a non-abrasive sponge, scrub all areas of the hood to remove the grease and grime. For stubborn spots, you may need to reapply the degreaser and scrub again. Be thorough, as missed spots can quickly become grease traps.
Step 5: Rinse and Wipe Down
Rinse the hood with a clean cloth dampened with hot water. Make sure to remove all residue from the degreaser. Wipe down the hood with a dry cloth to avoid any water spots. Repeat this step until the hood is completely clean.
Step 6: Clean the Filters
While the hood dries, return to your filters that are soaking in hot, soapy water. Scrub them with a brush to remove grease and grime. Rinse thoroughly with hot water and allow them to air dry completely.
Step 7: Reassemble and Test
Once everything is dry, reassemble the hood by reinstalling the filters. Reconnect the power source if applicable, and test the exhaust hood to ensure it’s working correctly.
Benefits of Hiring Professionals
While DIY hood cleaning can save money, professional commercial kitchen hood cleaning services offer numerous advantages:
- Thorough Cleaning: Professionals use specialized equipment to clean hard-to-reach areas.
- Compliance: Professionals are familiar with local health and safety regulations.
- Time-saving: Outsourcing allows you to focus on other aspects of your business.
- Peace of Mind: Trained experts reduce the risk of errors and ensure optimal performance.
Maintenance Tips
To maintain a clean hood between deep cleaning sessions:
- Wipe down your hood and filters weekly.
- Schedule routine professional cleanings at least every six months.
- Immediately clean any spills or splatters.
Regular maintenance will not only prolong the life of your exhaust hood but also ensure a safer and more efficient kitchen environment.
Conclusion
Cleaning your exhaust hood is a vital task that should not be overlooked. Whether you choose to do it yourself or hire a professional, regular cleaning will help you comply with health codes, reduce fire hazards, and improve the overall efficiency of your kitchen. For those based in Texas, if this all seems too overwhelming, consider contacting Dallas TX Hood Cleaning for expert assistance. Their experienced team can take care of all your restaurant hood cleaning needs, ensuring your kitchen is safe, clean, and compliant with regulations.


